The Tutorial
Step 1
File - New - Open a new Transparent image 900 x 600 pixels
Mehdi - Wavy Lab 1.1
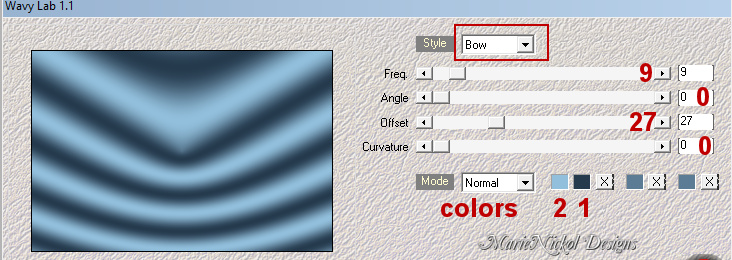
Step 2
Effects - Plugins - Mehdi - Sorting Tiles
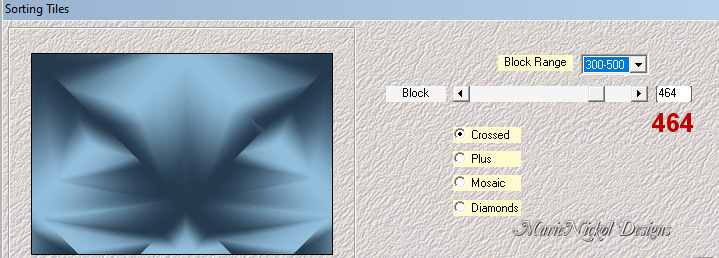
Adjust - Sharpness- Sharpen
Step 3
Effects - Plugins - Jeux de Lignes - Entrelacement

Adjust - Sharpness- Sharpen
Step 4
Layers - New Raster Layer
Flood fill tool / Fill in the layer with color 4 ![]() #ffffff
#ffffff
Step 5
Open mask - mnmask_andrea01
Layers - New Mask Layer - From Image (Invert mask data not checked)
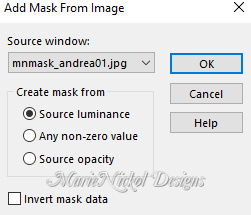
Layers - Merge - Merge Group
Step 6
Activate the Pick Tool (K) ![]()
Mode: Scale
Enter these values for Positions X and Y, and for Scale (%) X and Y on the Toolbar
X: 72.00 Y: 450.00
Scale X(%): 100.00; Scale Y(%): 54.00
![]()
Press M on your keyboard to release the Pick Tool
Step 7
In your Layer Properties - set the Blend mode to Overlay and the Opacity to 50%
Step 8
Layers - New Raster Layer
Flood fill tool /Fill in the Layer with Color 4 ![]() #ffffff
#ffffff
Step 9
Layers - Load/Save Mask - Load Mask From Disk
Look for and load mask - mnmask_andrea2
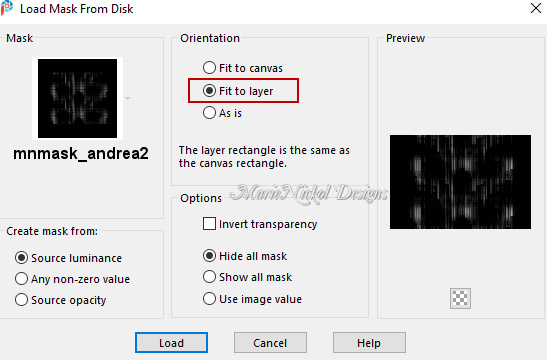
Layers - Merge - Merge Group
Step 10
Selections - Load/Save Selection - Load Selection From Disk
Look for and load the selection - mnsel_Andrea1
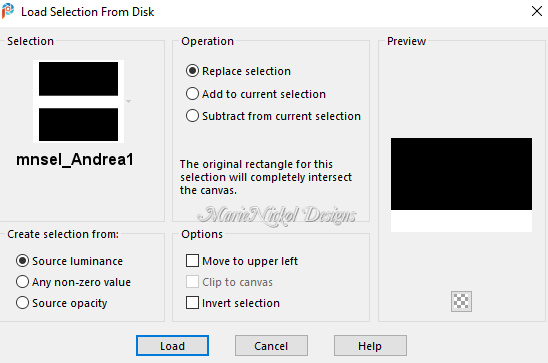
Selections - Modify - Feather - Feather amount 50
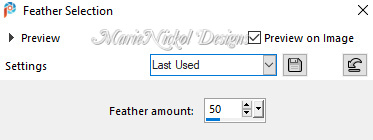
Press the Delete key on your keyboard
Selections - Select None
Step 11
Effects - Edge Effects - Enhance More
In your Layer Properties - set the Blend mode to Dodge and the Opacity to 50%
Step 12
Layers - New Raster Layer
Selections - Load/Save Selection - Load Selection From Disk
Look for and load the selection - mnandrea_selection2
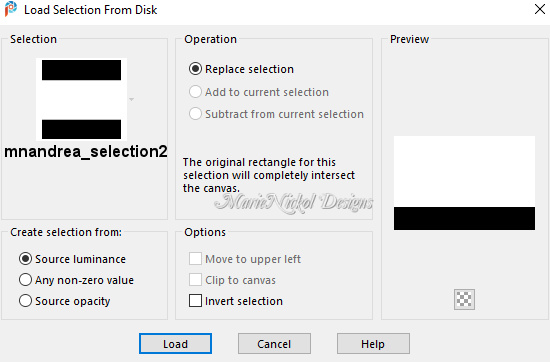
Step 13
Open tube - mnmistedcity01
Edit - Copy
Edit - Paste - Paste into Selection on your working image
Step 14
Effects - Plugins - AP [Lines] - Lines - SilverLining
Dotty Grid - Gap 3; Cutoff -1; Line 10; Color RGB - 255
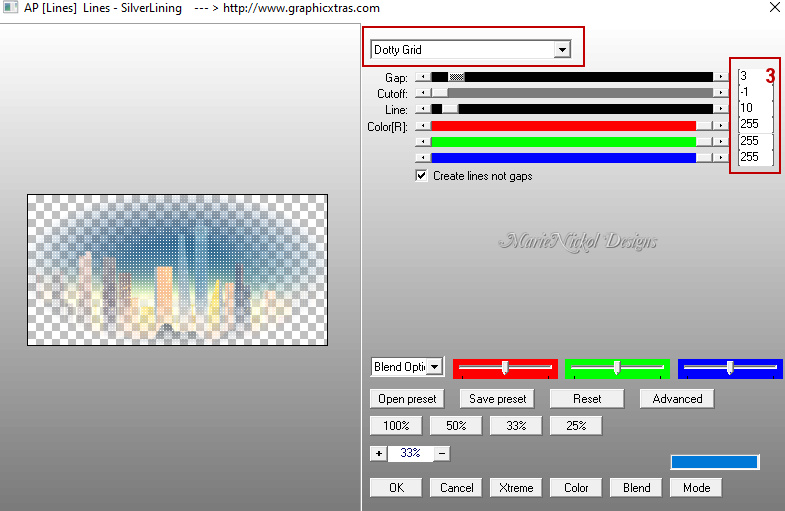
Selections - Select None
Step 15
In your Layer Properties - set the Blend mode to Screen and the Opacity to 50%
Step 16
Layers - New Raster Layer
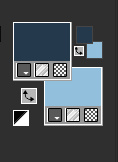
Flood fill tool / Fill in the layer with color 1 ![]() #253a4d
#253a4d
Step 17
Layers - Load/Save Mask - Load Mask From Disk
Look for and load mask - mnmask_andrea3
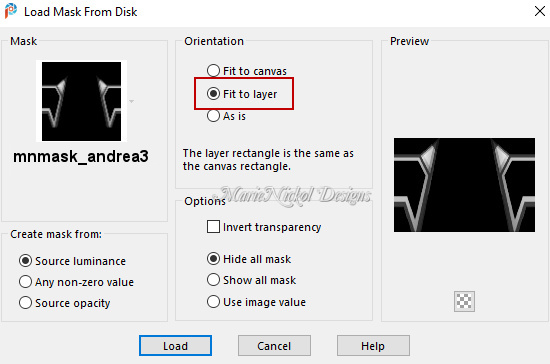
Layers - Merge - Merge Group
Step 18
Effects - 3D Effects - Drop Shadow (0/0/100/55.00) color 3 ![]() #65eeed - Shadow on new layer not checked
#65eeed - Shadow on new layer not checked
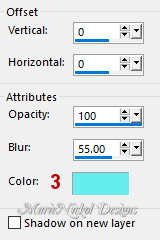
(Note: When using your own colors, choose a complementary medium color - I used color #81d1d0 for my second version)
Step 19
Effects - Plugins - AP [Lines] - Lines - SilverLining
Dotty Grid - Gap 3; Cutoff -1; Line 10; Color RGB -0
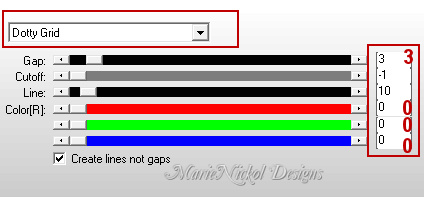
In your Layer Properties - set the Blend mode to Screen
(Note: In my second version I set the Blend mode to Hard Light)
Step 20
Open the character tube - poser Carrie_AJ
Edit - Copy
Edit - Paste - Paste As New Layer on your working image
Image - Resize - 70% - Resize All Layers - Not Checked
Image - Resize - 85% - Resize All Layers - Not Checked
(Note: Depending on your tube resize according to your own discretion.)
Activate the Pick Tool (K) ![]()
Enter these values for positions X and Y on the Toolbar
X: 367.00 Y: 26.00

(Note: When you use your own tube position it as shown on the final result above)
Step 21
Effects - Plugins - Alien Skin Eye Candy 5 - Impact - Perspective shadow
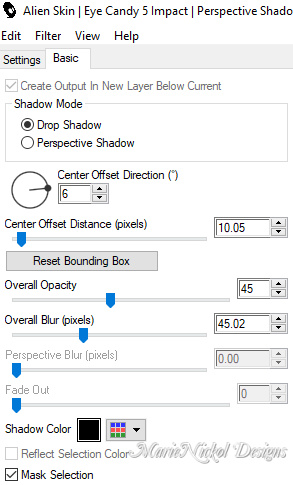
Your layers look like this:
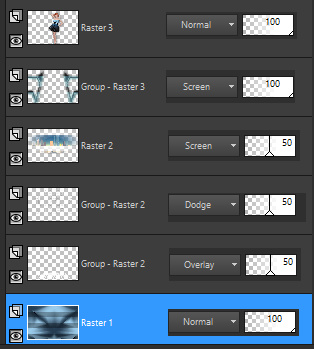
Step 22
Activate the bottom layer - Raster 1
Edit - Copy
Step 23
Image - Add Borders - 2 px - Symmetric checked - color 4 ![]() #ffffff
#ffffff
Selections - Select All
Image - Add Borders - 40 px - Symmetric checked - color 4 ![]() #ffffff
#ffffff
Selections - Invert
Edit - Paste - Paste into Selection
Step 24
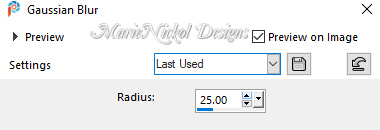
Adjust - Blur - Gaussian Blur (Radius 25)
Step 25
Effects - Plugins - Jeux de Lignes - Entrelacement

Selections - Select None
Step 26
Image - Add Borders - 2 px - Symmetric checked - color 4 ![]() #ffffff
#ffffff
Step 27
Selections - Select All
Step 28
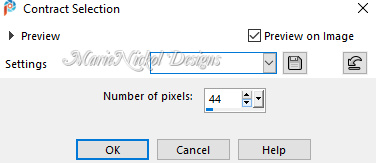
Selections - Modify - Contract (Number of pixels 44)
Selections - Invert
Step 29
Layers - New Raster Layer
Flood fill tool / Fill in the layer color 4 ![]() #ffffff
#ffffff
Step 30
Layers - Load/Save Mask - Load Mask From Disk
Look for and load mask - mnmask_andrea3

Layers - Merge - Merge Group
Selections - Select None
Step 31
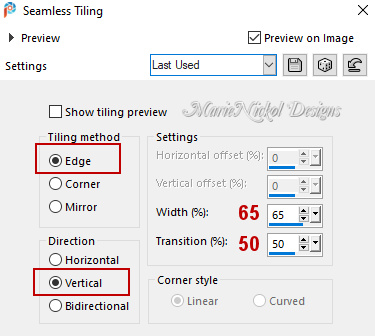
Effects - Image Effects - Seamless Tiling
Step 32
Layers - Duplicate
Image - Mirror - Mirror Vertical
(older versions of PSP - Image - Flip)
Layers - Merge - Merge Down
Step 33
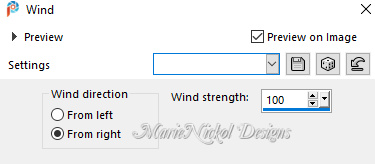
Effects - Distortion Effects - Wind
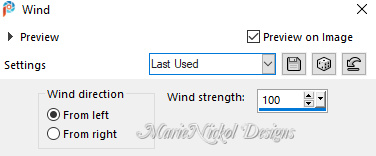
Effects - Distortion Effects - Wind
Step 34
Effects - Edge Effects - Enhance More
Layers - Merge - Merge Down
Step 35
Selections - Select All
Selections - Modify - Contract (Number of pixels 42)
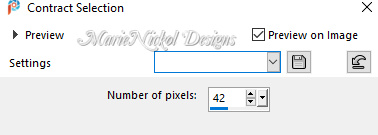
Step 36
Effects - 3D Effects - Drop Shadow (0/0/50/45.00) color black #000000 - Shadow on new layer not checked
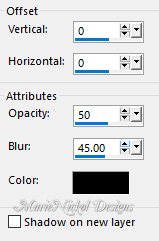
Selections - Select None
Step 37
Open the wordart tube - mntext
Edit - Copy
Edit - Paste - Paste As New Layer on your working image
Step 38
Colorize with color 2 ![]() #92bfdc
#92bfdc
or use Color Changer ![]() to replace the color with color 2
to replace the color with color 2 ![]()
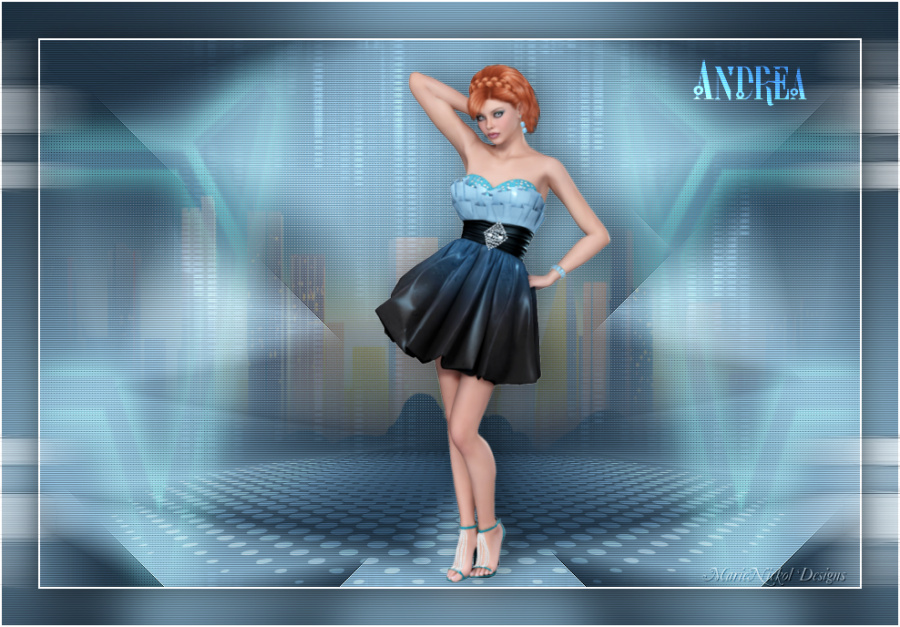
Position the tube as shown on the final result or at your own discretion
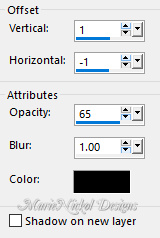
Effects - 3D Effects - Drop Shadow (1/-1/65/1.00) color black #000000 - Shadow on new layer not checked
In your Layer Properties - set the Blend mode to Dodge and the Opacity to 85%
Step 39
Layers - New Raster Layer
Add your name or watermark
Step 40
Layers - Merge - Merge All (Flatten)
Image - Resize - 900 pixels width (the height will adapt)
File - Export - Save as JPG file
***
I hope you enjoyed this tutorial.
If you do this tutorial, please email your version to me
~~~~~~~~~~
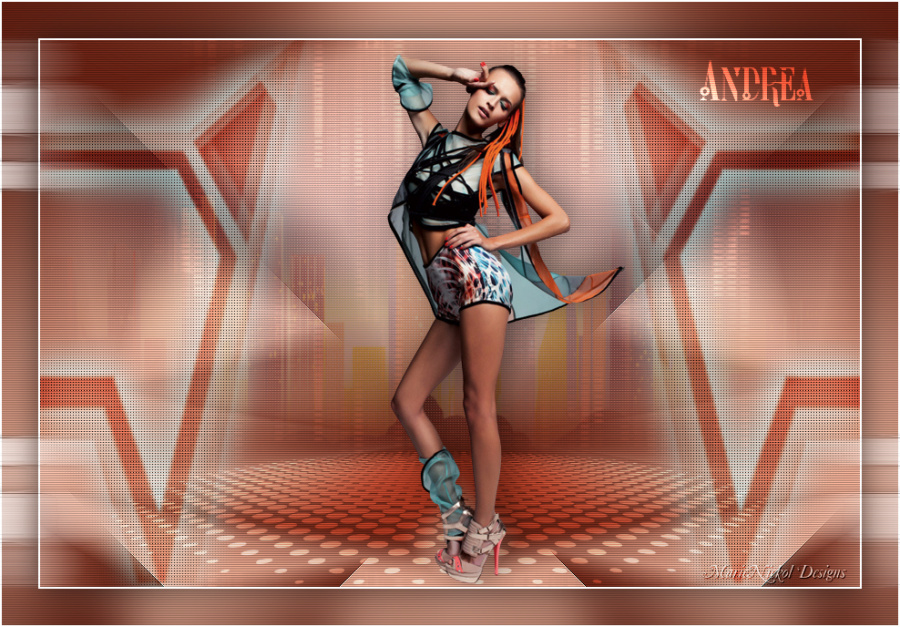
My second version in a different color
Tubes used - my own
~~~~~~~~~~
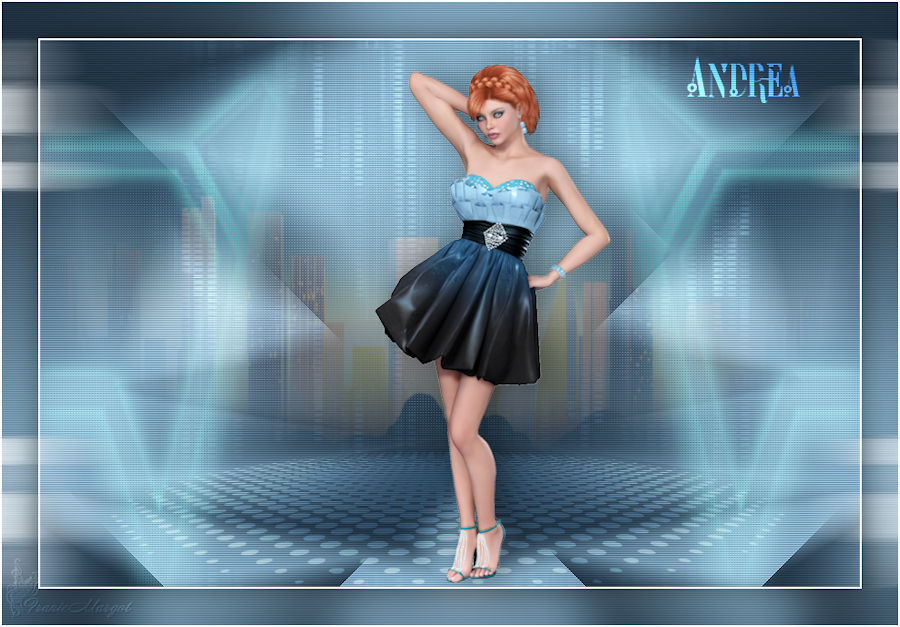
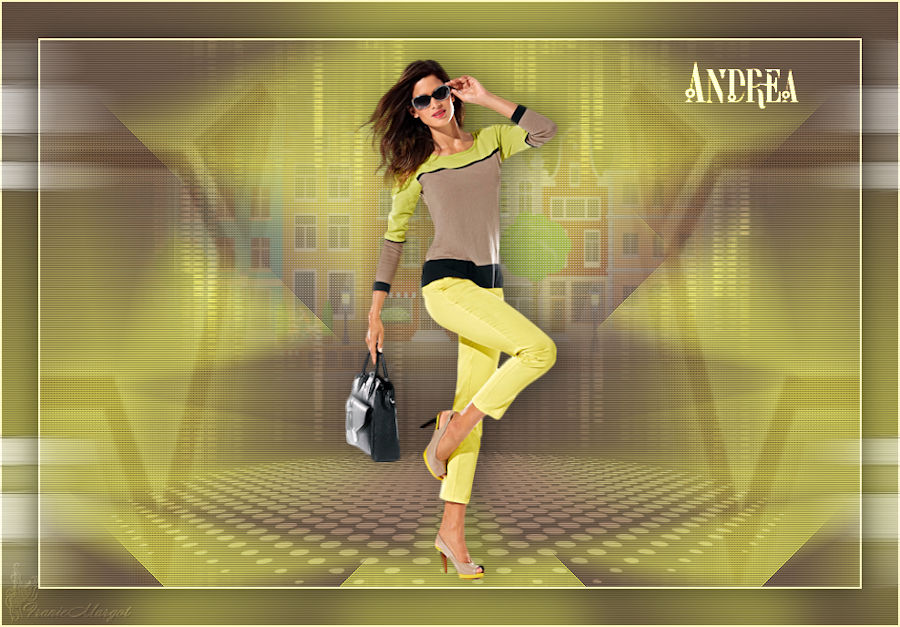
Your Versions
Thank you so much Franie Margot for your magnificent versions
~~~~~~~~~~
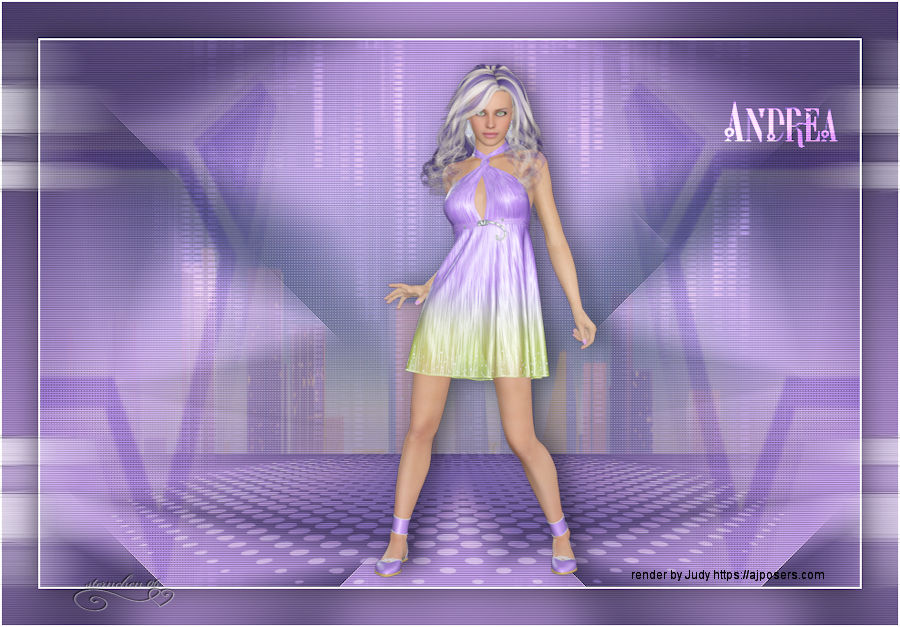
Thank you so much Andrea (Sternchens) for your magnificent version
~~~~~~~~~~
Thank you so much Anja for your magnificent version
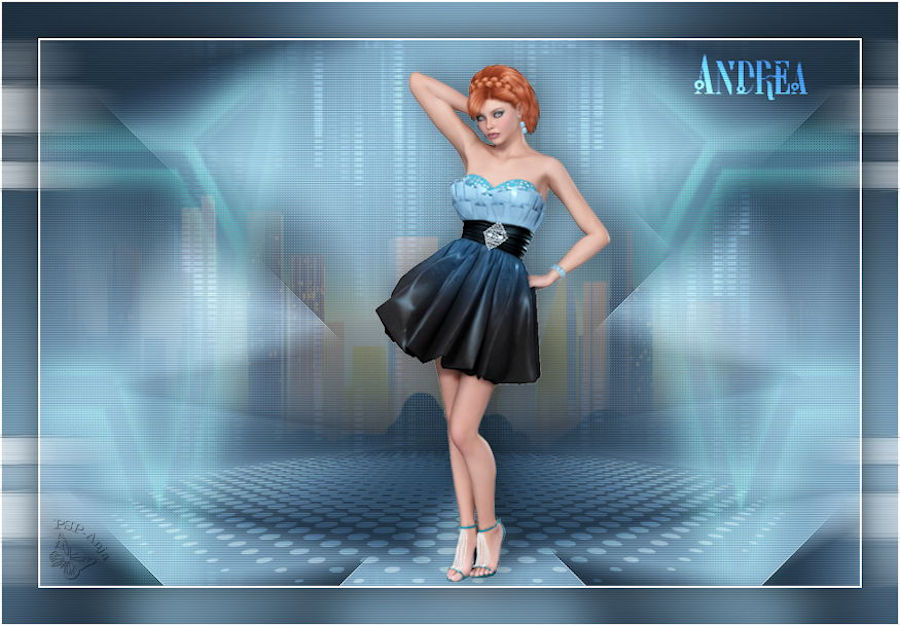
~~~~~~~~~~
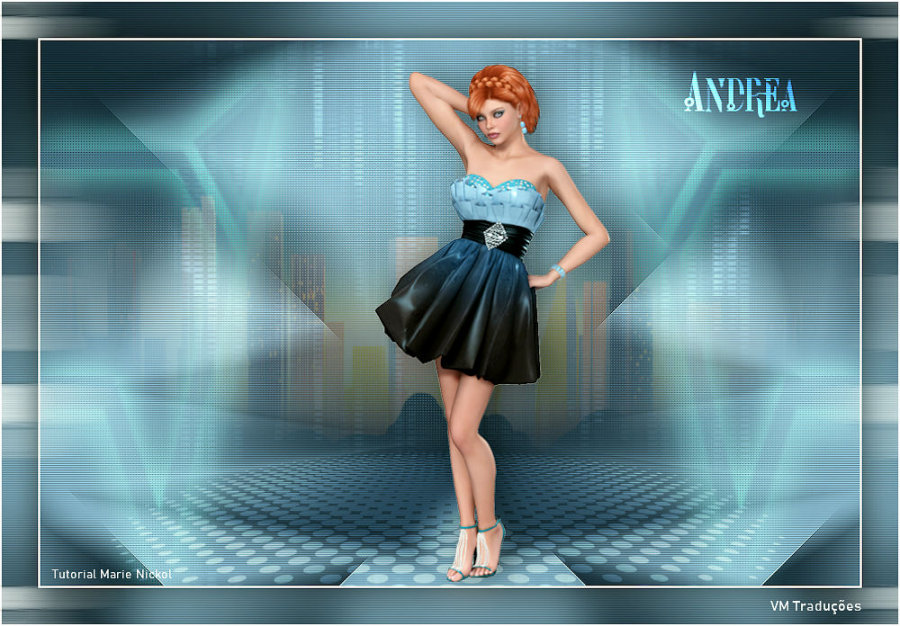
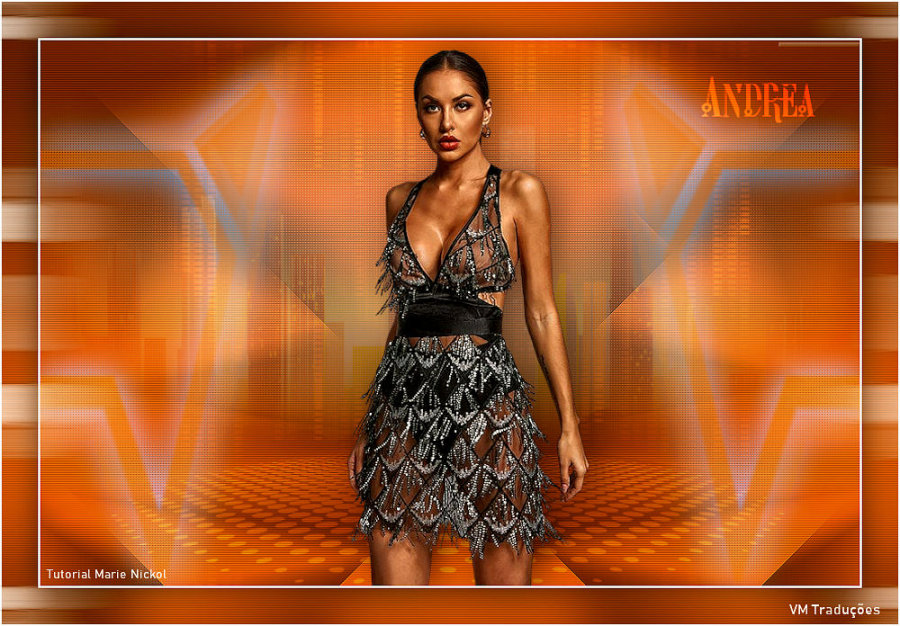
Thank you so much Vera Mendes for your magnificent versions
~~~~~~~~~~
1 2

