
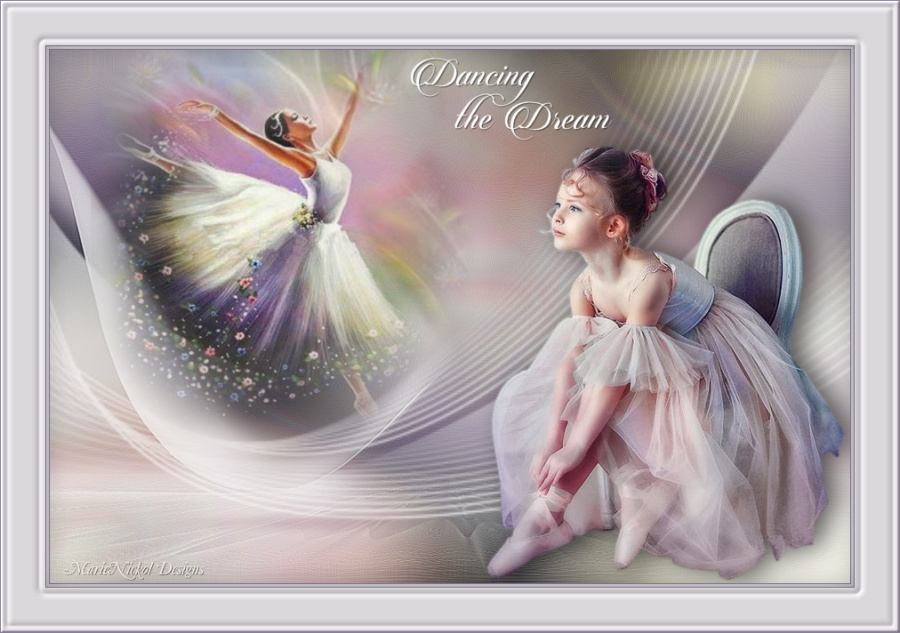


The Tutorial
Step 1
Open the alpha file - mnballerinadream_alpha.psp
Selections - Select All
Open the background image - mnbackgroundballerina
Edit - Copy
Edit - Paste - Paste into Selection on your working image
Effects - Edge Effects - Enhance More
Step 2
Layers - New Raster Layer
Flood fill tool / Fill in the Layer with the Background Color - color 4 #ffffff
Open mask - mnmask11
Layers - New Mask Layer - From Image (Invert mask data not checked)
Layers - Merge - Merge Group
Step 3
Open misted tube - mnballerinafairy
Edit - Copy
Edit - Paste - Paste As New Layer on your working image
Activate the Pick Tool (K)![]() - Enter these values for positions X and Y on the Toolbar:
- Enter these values for positions X and Y on the Toolbar:
X 46 Y 0
![]()
Step 4
Materials Properties: Set your Background color to color 3 #a7ab8d
Layers - New Raster Layer
Step 5
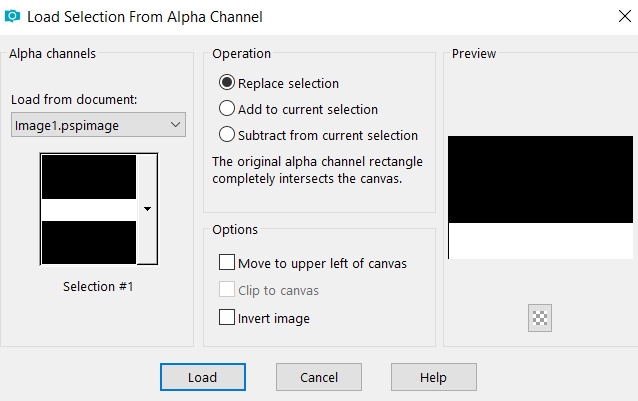
Selections - Load/Save Selection - Load Selection From Alpha Channel
Load selection 1
Flood fill tool /Fill in the Selection with the Background color - 3 #a7ab8d
Step 6
Open mask - marienickol_mask27
Layers - New Mask Layer - From Image (Invert mask data not checked)
Layers - Merge - Merge Group
Keep the layer selected
Step 7
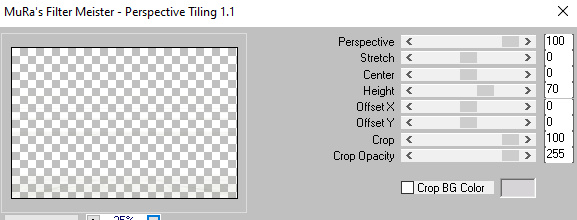
Effects - Plugins - Mura's Meister - Perspective Tiling
Selections - Invert
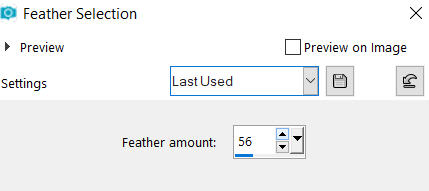
Selections - Modify - Feather (56)
Press Delete 3 times on your keyboard
Selections - Select None
Adjust - Sharpness- Sharpen More
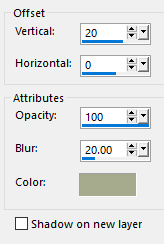
Effects - 3D Effects - Drop Shadow (20/0/100/20) color 3 #a7ab8d - Shadow on new layer not checked
Step 8
Open tube - Tiny Dancer_LR-12-17-19
Edit - Copy
Edit - Paste - Paste As New Layer on your working image
Image - Mirror
Activate the Pick Tool (K)![]() - Enter these values for positions X and Y on the Toolbar:
- Enter these values for positions X and Y on the Toolbar:
X 489 Y 7
![]()
Step 9
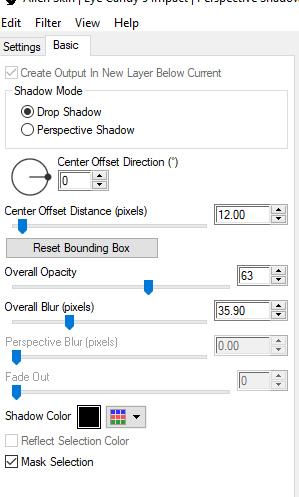
Effects - Plugins - Eye Candy 5 - Impact - Perspective Shadow
In the User Settings look for preset - mn_ballerina_PS - provided in the materials - and click OK

Note: If the Preset doesn't work for you, use these settings in the Basic Tab:
Step 10
Open the wordart tube - mntext
Edit - Copy
Edit - Paste - Paste As New Layer on your working image
Activate the Pick Tool (K)![]() - Enter these values for positions X and Y on the Toolbar:
- Enter these values for positions X and Y on the Toolbar:
X 405 Y 9
![]()
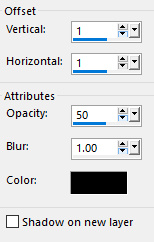
Effects - 3D Effects - Drop Shadow (1/1/50/1) color 5 #000000 - Shadow on new layer not checked
Note: If you wish add your own text you may use the font Candlescript provided in the materials.
Text Tool (T) - font Candlescript - Size 48 pixels
Materials Properties: Set your Background color to color 4 #ffffff
Type your text
Layers - Convert to Raster Layer
Position your text and add the drop shadow as shown above
Step 11
Image - Add Borders - 1 px - Symmetric checked color 1 #8b7e98
Image - Add Borders - 3 px - Symmetric checked color 2 #d6d4d7
Image - Add Borders - 1 px - Symmetric checked color 1 #8b7e98
Step 12
Selections - Select All
Image - Add Borders - 50 px - Symmetric checked color 2 #d6d4d7
Selections - Invert
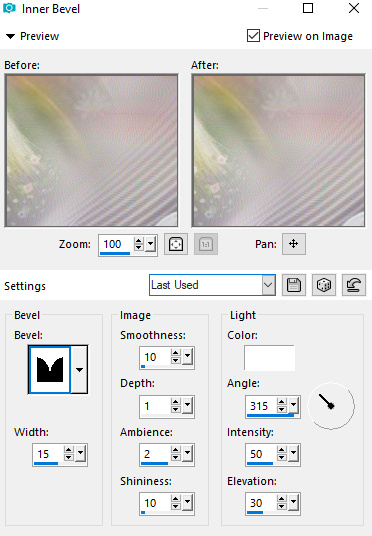
Effects - 3D Effects - Inner Bevel
Keep the selection selected
Step 13
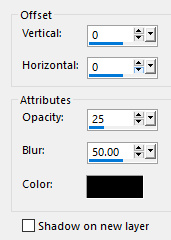
Effects - 3D Effects - Drop Shadow (0/0/25/50) color 5 - #000000 - Shadow on new layer not checked
Selections - Select None
Step 14
Image - Add Borders - 1 px - Symmetric checked color 1 #8b7e98
Step 15
Layers - New Raster Layer
Add your name or watermark
Layers - Merge - Merge All (Flatten)
Step 16
Image - Resize - 900 pixels width (the height will adapt)
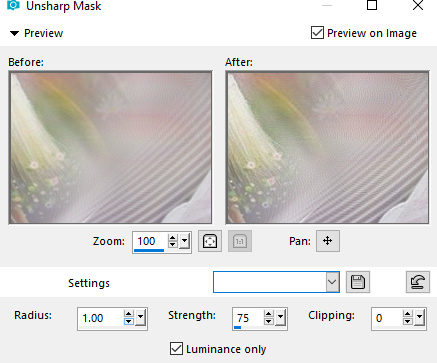
Adjust - Sharpness - Unsharp Mask
File - Export - Save as JPG file
***
I hope you enjoyed this tutorial.
~~~~~~~~~~
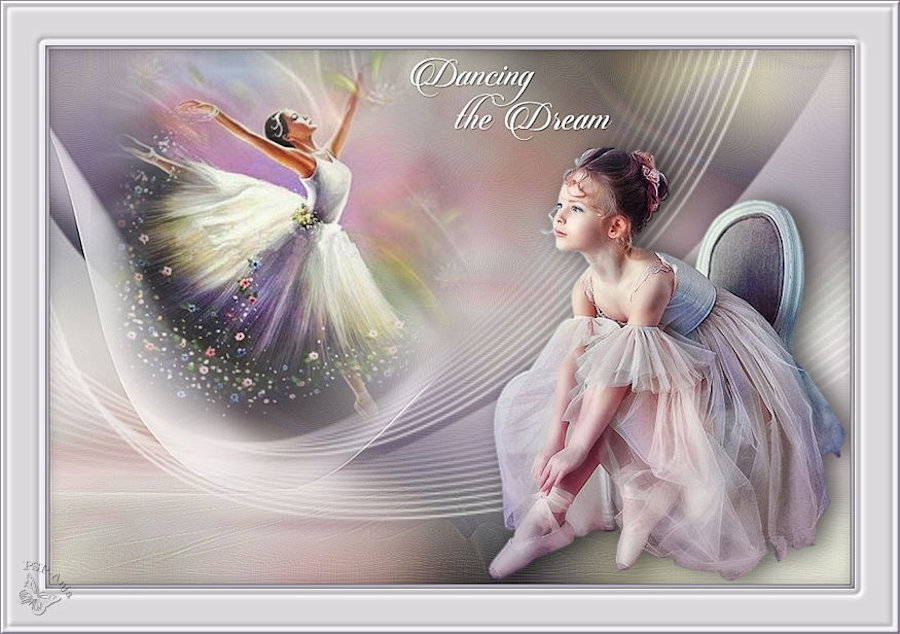
Your Versions
Thank you so much Anja for your beautiful version
~~~~~~~~~~
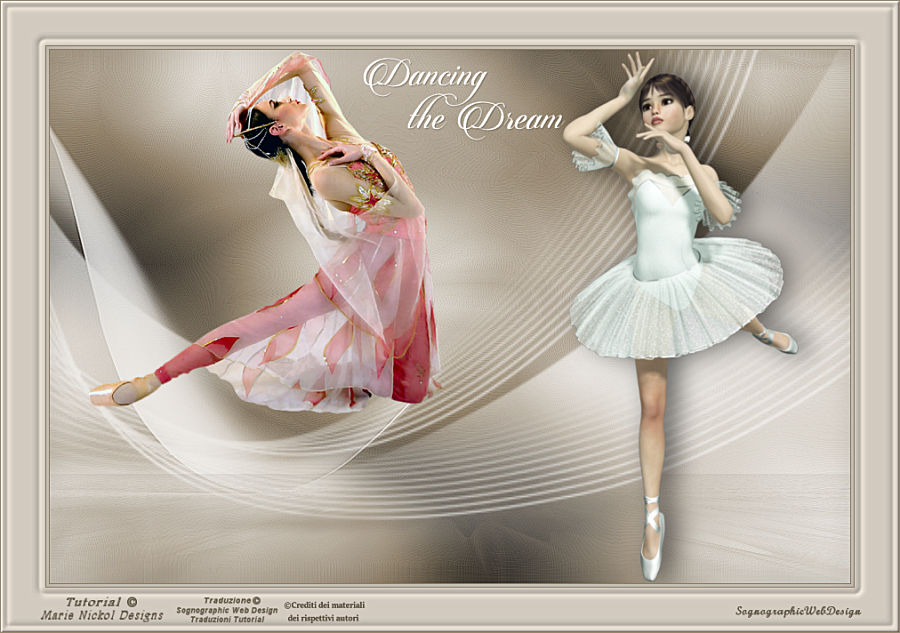
Thank you so much Isabella (Sognografica) for your beautiful version
~~~~~~~~~~
1 2
![]()