


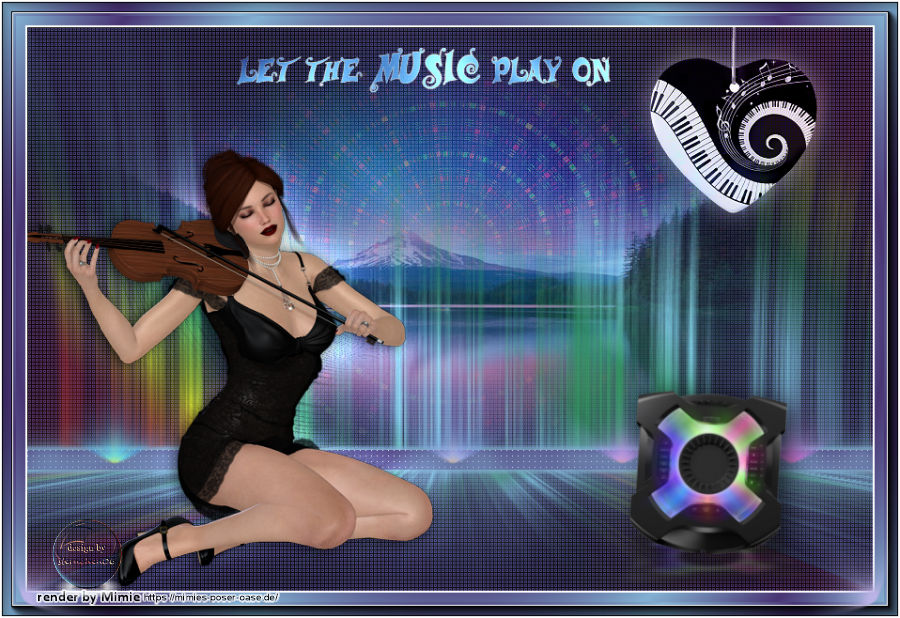
The Tutorial
Step 1
File - New - Open a new Transparent image 900 x 600 pixels
Step 2
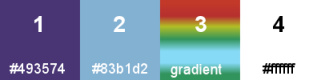
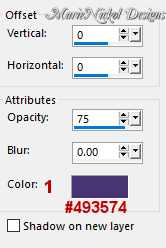
Flood fill tool / Fill in the layer with your foreground color 1 ![]() #493574
#493574
Step 3
Layers - Duplicate
Step 4
Effects - Plugins - ScreenWorks - Boxed Dot
Step 5
Layers - New Raster Layer
Materials Properties: Set your Foreground Color to foreground-background Linear Style gradient (Corel_06_029) with the following settings
Flood fill tool / Fill in the layer with the gradient
Step 6
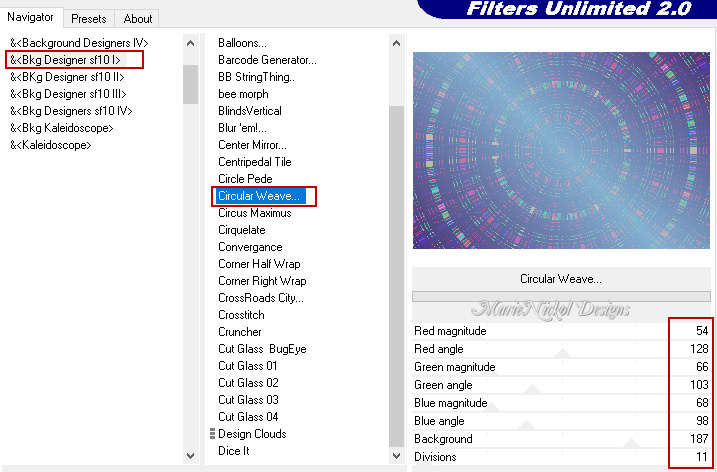
Effects - Plugins - <I.C.NET Software> - Filters Unlimited 2.0 - &<Bkg Desinger sf10I> - Circular Weave (default settings)
Step 7
Image - Resize - 80% - Resize All Layers - Not Checked
Step 8
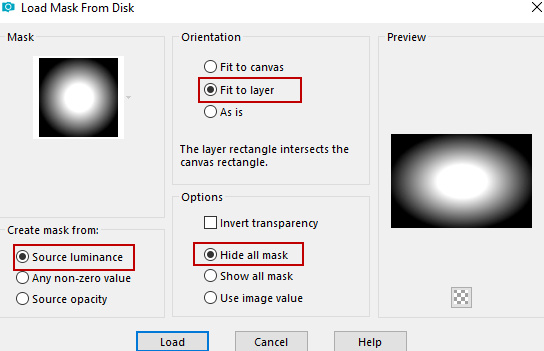
Layers - Load/Save Mask - Load Mask From Disk
Look for and load mask 20-20
Layers - Duplicate
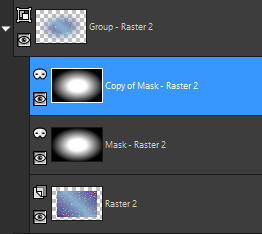
Layers - Merge - Merge Group
Step 9
Adjust - Sharpness- Sharpen
Step 10
In your Layer Properties - set the Blend mode to Hard Light
Step 11
Objects - Align - Top
Note: If you don't have the Command Objects on your version of PSP use the Pick Tool (K)![]()
Activate the Pick Tool (K) - Enter these values for positions X and Y on the Toolbar:
X 90.00 Y 0.00
![]()
Press M to release the Pick Tool
Step 12
Open tube - 1293040146_paysages_nikita
Edit - Copy
Edit - Paste - Paste As New Layer on your working image
Do not move it - it is in the right place
Step 13
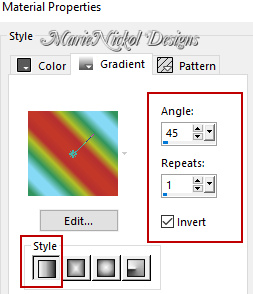
Materials Properties: Set your Foreground Color to foreground-background the gradient mncolorful provided in the materials
Style Linear - Angle 45 - Repeats 1 - Invert clicked
Step 14
Layers - New Raster Layer
Step 15
Selections - Load/Save Selection - Load Selection From Disk
Look for and load the selection - mnselection_music
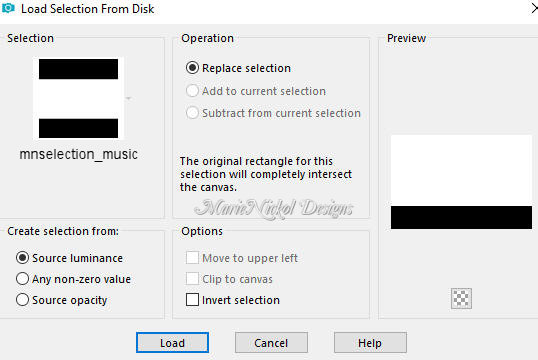
Step 16
Flood fill tool / Fill in the Selection with the Linear style gradient set in Step 13 above
Step 17
Layers - Load/Save Mask - Load Mask From Disk
Look for and load mask - marienickol_music7
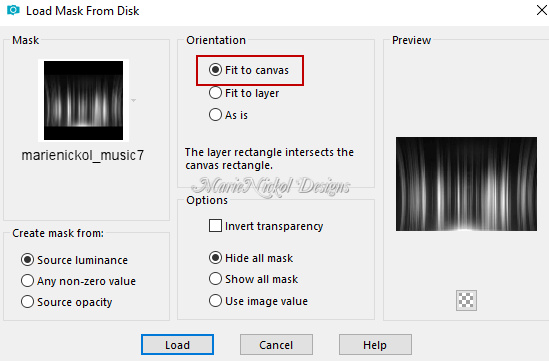
Layers - Merge - Merge Group
Step 18
Selections - Select None
Step 19
Layers - Duplicate
Step 20
Image - Mirror - Mirror Vertical
(Older versions of PSP - Image - Flip)
Step 21
Effects - Plugins - MuRa's Meister - Perspective Tiling

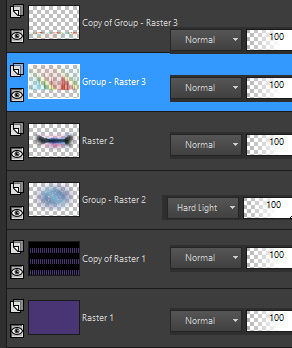
Your layers look like this:
Step 22
Activate the Layer underneath - Group - Raster 3
Effects - Edge Effects - Enhance
Step 23
Activate the bottom Layer - Raster 1
Step 24
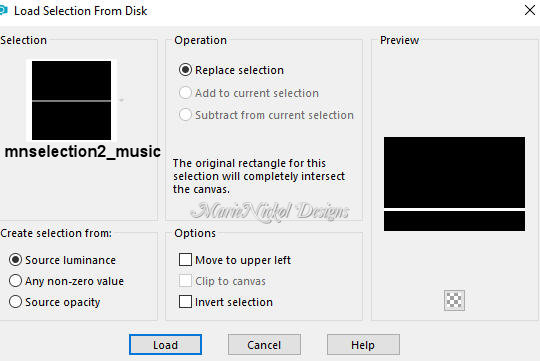
Selections - Load/Save Selection - Load Selection From Disk
Look for and load the selection - mnselection2_music
Step 25
Selections - Promote Selection to Layer
Step 26
Layers - Arrange - Bring to Top
Step 27
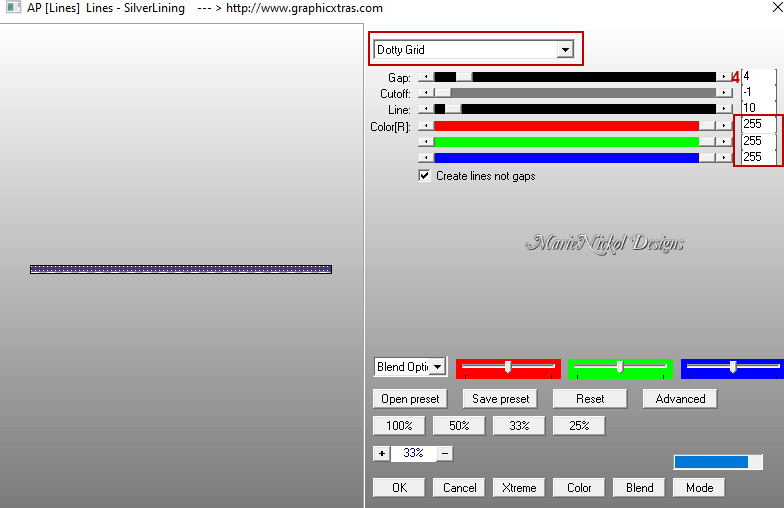
Effects - Plugins - AP [Lines] - Lines- SilverLining
Step 28
Selections - Select None
Step 29
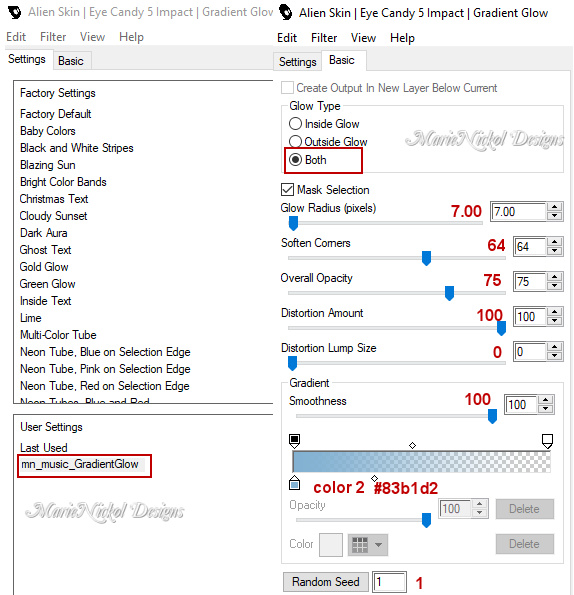
Effects - Plugins - Alien Skin Eye Candy 5 - Impact - Gradient Glow
In the User Settings look for preset mn_music_GradientGlow provided in the materials and click OK
Note: If the Preset doesn't work for you, use these settings in the Basic Tab:
Step 30
Effects - Plugins - Alien Skin Eye Candy 5 - Impact - Backlight
In the User Settings look for preset mn_musicBacklight provided in the materials and click OK

Note: If the Preset doesn't work for you, use these settings in the Basic Tab:

Step 31
Open tube - deco - marienickol_decoLight
Edit - Copy
Edit - Paste - Paste As New Layer on your working image
Step 32
Activate the Pick Tool (K) ![]()
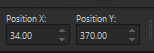
Enter these values for positions X and Y on the Toolbar
X: 34.00 Y: 370.00
Press M on your keyboard to release the Pick Tool
Step 33
Effects - Plugins - MuRa's Meister - Copies
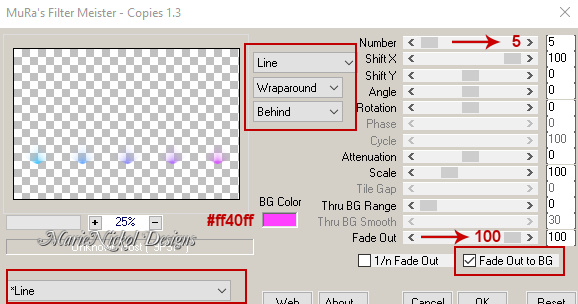
Note: change the BG Color on the plugin to #ff40ff
When working with your own colors you may change the color to your own liking.
Step 34
Open tube - 12930422640_divers_nikita
Edit - Copy
Edit - Paste - Paste As New Layer on your working image
Step 35
Image - Resize - 30% - Resize All Layers - Not Checked
Step 36
Activate the Pick Tool (K) ![]()
Enter these values for positions X and Y on the Toolbar
X: 663.00 Y: 0.00

Press M on your keyboard to release the Pick Tool
Step 37
In your Layer Properties - set the Blend mode to Luminance (Legacy) and the Opacity to 50%
Step 38
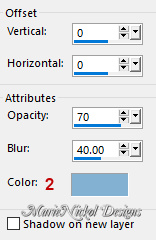
Effects - 3D Effects - Drop Shadow (0/0/70/40) color 2 ![]() #83b1d2 - Shadow on new layer not checked
#83b1d2 - Shadow on new layer not checked
Step 39
Open tube - marienickol_jutebox
Edit - Copy
Edit - Paste - Paste As New Layer on your working image
Step 40
Activate the Pick Tool (K) ![]()
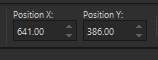
Enter these values for positions X and Y on the Toolbar
X: 641.00 Y: 386.00
Press M on your keyboard to release the Pick Tool
Step 41
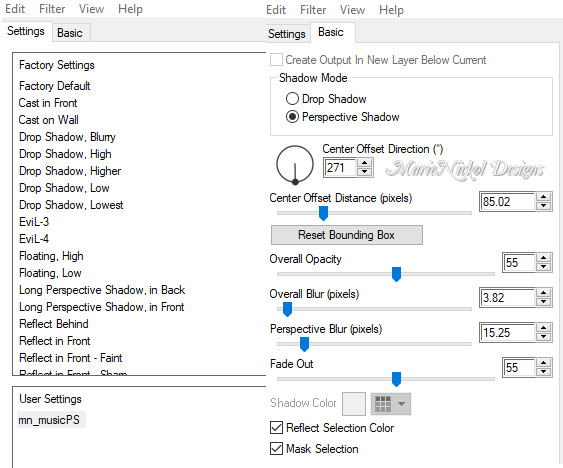
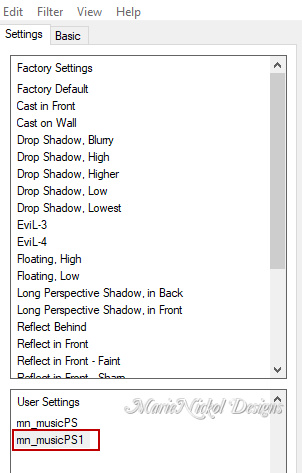
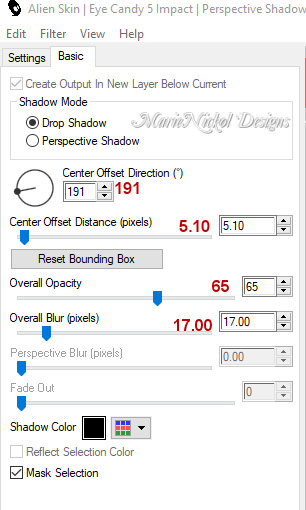
Effects - Plugins - Alien Skin Eye Candy 5 - Impact - Perspective shadow
In the User Settings look for preset mn_musicPS provided in the materials and click OK
Note: If the Preset doesn't work for you, use these settings in the Basic Tab:
Step 42
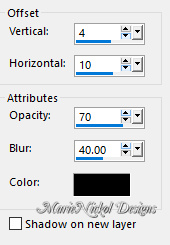
Effects - 3D Effects - Drop Shadow (4/10/70/40) color black #000000 - Shadow on new layer not checked
Step 43
Open tube - marienickol_woman045
Edit - Copy
Edit - Paste - Paste As New Layer on your working image
Step 44
Image - Resize - 90% - Resize All Layers - Not Checked
Step 45
Activate the Pick Tool (K) ![]()
Enter these values for positions X and Y on the Toolbar
X: 109.00 Y: 163.00
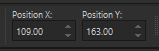
Press M on your keyboard to release the Pick Tool
Step 46
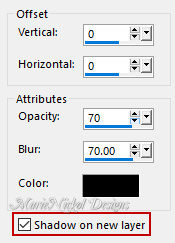
Effects - 3D Effects - Drop Shadow (0/0/70/70) color black #000000 - Shadow on new layer checked
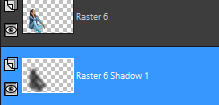
Step 47
The shadow layer - Raster 6 Shadow 1 - is active
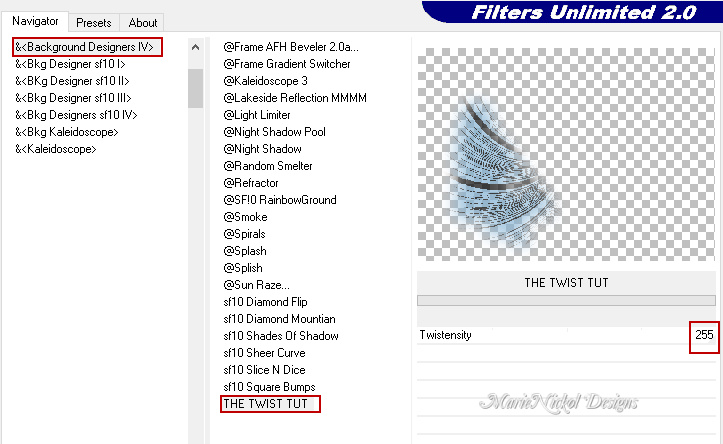
Step 48
Effects - Plugins - <I.C.NET Software> - Filters Unlimited 2.0 - &<Background Designers IV> - THE TWIST TUT
Step 49
In your Layer Properties - set the Blend mode to Dodge and the Opacity to 70%
Step 50
Activate the top layer - Raster 6 (the woman tube)
Effects - Plugins - Alien Skin Eye Candy 5 - Impact - Perspective shadow
In the User Settings look for preset mn_musicPS1 provided in the materials and click OK
Note: If the Preset doesn't work for you, use these settings in the Basic Tab:
Step 51
Layers - Merge - Merge Visible
Step 52
Acrivate the Text too (T)l ![]()
Set your font to Musicals - size 36 pixels - Anti-alias Sharp - Stroke width 0.0 -
Create as Vector (font provided in the materials)
![]()
Step 53
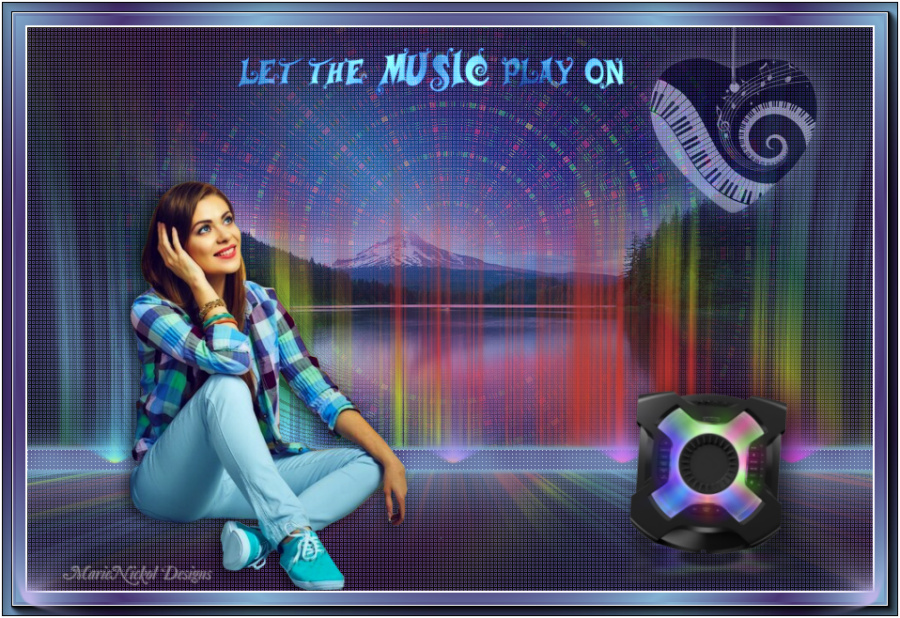
Type on your keyboard - Let the Music play on
*Don't click the Action - Apply Changes
![]()
Mark the word Music with you left mouse

Change the font size to 48
Click the Action - Apply Changes
Step 54
Layers - Convert to Raster Layer
Step 55
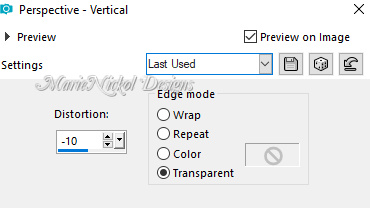
Effects - Geometric Effects - Perspective Vertical
Step 56
Effects - Plugins - <I.C.NET Software> - Filters Unlimited 2.0 - &<Background Designers IV> - @Night Shadow

Step 57
Activate the Pick Tool (K) ![]()
Enter these values for positions X and Y on the Toolbar
X: 223.00 Y: 22.00
![]()
Press M on your keyboard to release the Pick Tool
Step 58
In your Layer Properties - set the Blend mode to Hard Light
Step 59
Effects - 3D Effects - Drop Shadow (0/0/75/0) color 1 ![]() #493574 - Shadow on new layer not checked
#493574 - Shadow on new layer not checked
Step 60
Image - Add Borders - 2 px - Symmetric checked - color 4 ![]() #ffffff
#ffffff
Selections - Select All
Step 61
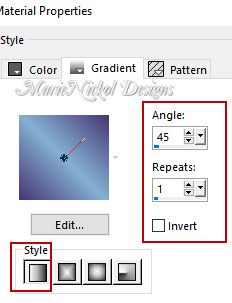
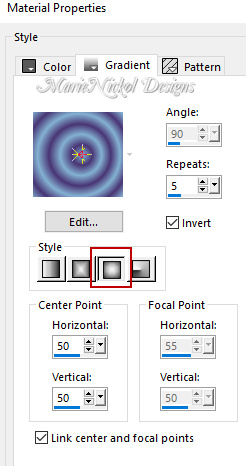
Materials Properties: Set your Foreground Color to foreground-background Sunburst style gradient
(Corel_06_029) with the following settings - color 1 ![]() and color 2
and color 2 ![]()
Step 62
Image - Add Borders - 10 px - Symmetric checked - color 4 ![]() #ffffff
#ffffff
Selections - Invert
Flood fill tool /Fill in the Selection with the gradient
Step 63
Selections - Select All
Image - Add Borders - 15 px - Symmetric checked - color 4 ![]() #ffffff
#ffffff
Step 64
Selections - Invert
Flood fill tool /Fill in the Selection with the gradient
Step 65
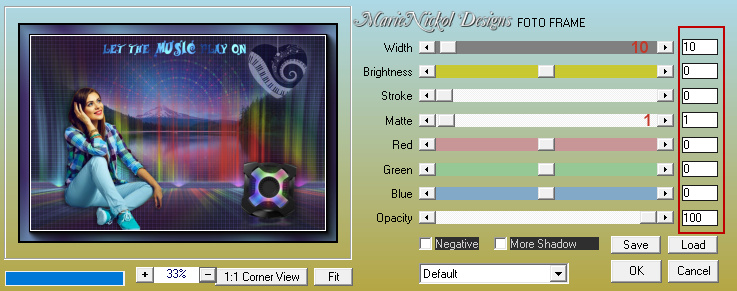
Effects - Plugins - AAA Frames - Foto Frame
Step 66
Selections - Select None
Step 67
Image - Add Borders - 2 px - Symmetric checked - color 4 ![]() #ffffff
#ffffff
Step 68
Open deco tube - marienickol_decoLights2
Edit - Copy
Edit - Paste - Paste As New Layer on your working image
Step 69
Objects - Align - Bottom
Note: If you do not have the Command Objects on your version of PSP use the Pick Tool (K)
Activate the Pick Tool (K) - Enter these values for positions X and Y on the Toolbar:
X 8.00 Y 569.00
![]()
Press M to release the Pick Tool
Step 70
Layers - New Raster Layer
Add your name or watermark
Layers - Merge - Merge All (Flatten)
Image - Resize - 900 pixels width (the height will adapt)
File - Export - Save as JPG file
***
I hope you enjoyed this tutorial.
If you do this tutorial, please email your version to me
my email address -
~~~~~~~~~~
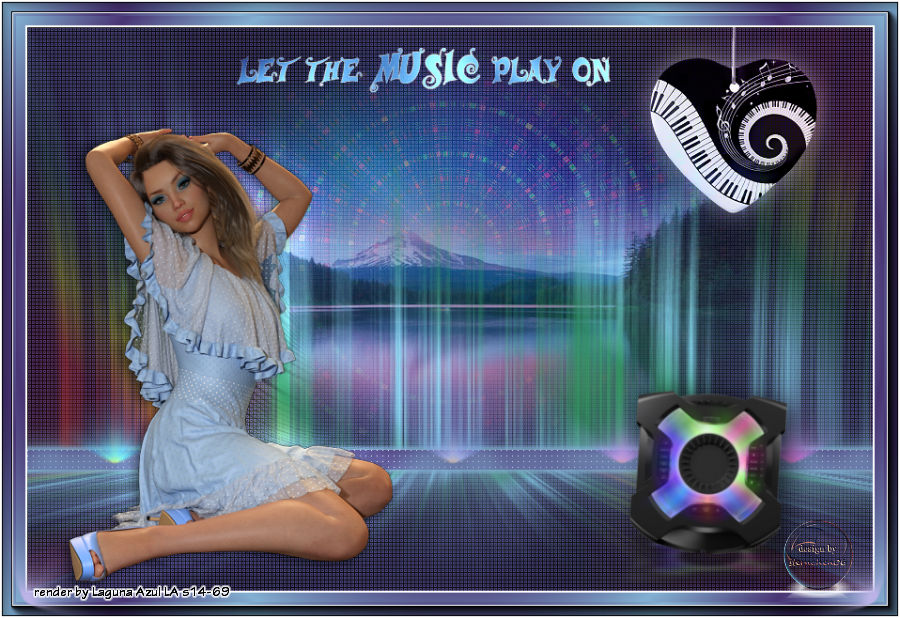
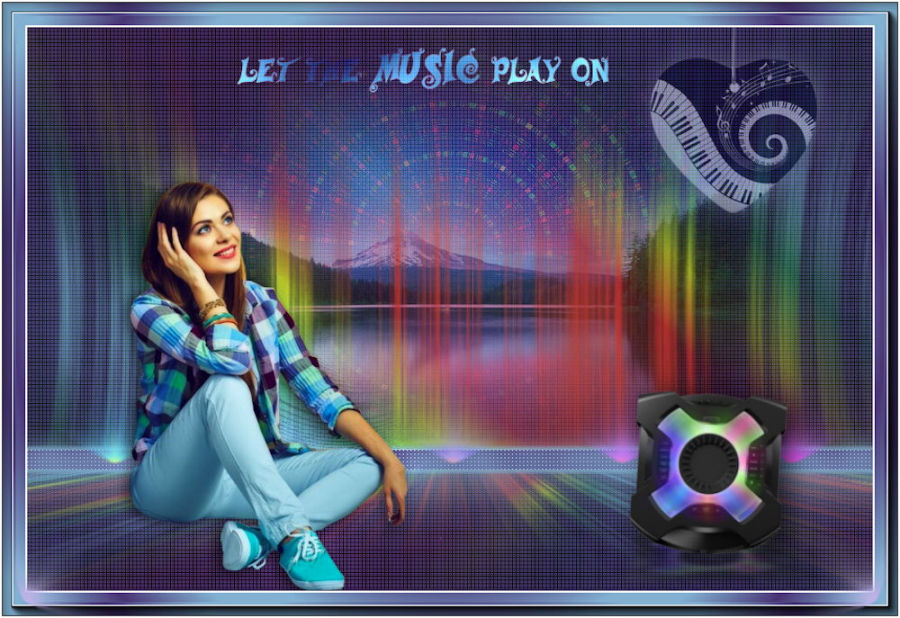
My second version in a different color
Tubes used by XBA and deco by Nicole

~~~~~~~~~~
Your Versions
Thank you so much Anja for testing my tutorial and your magnificent version
~~~~~~~~~~
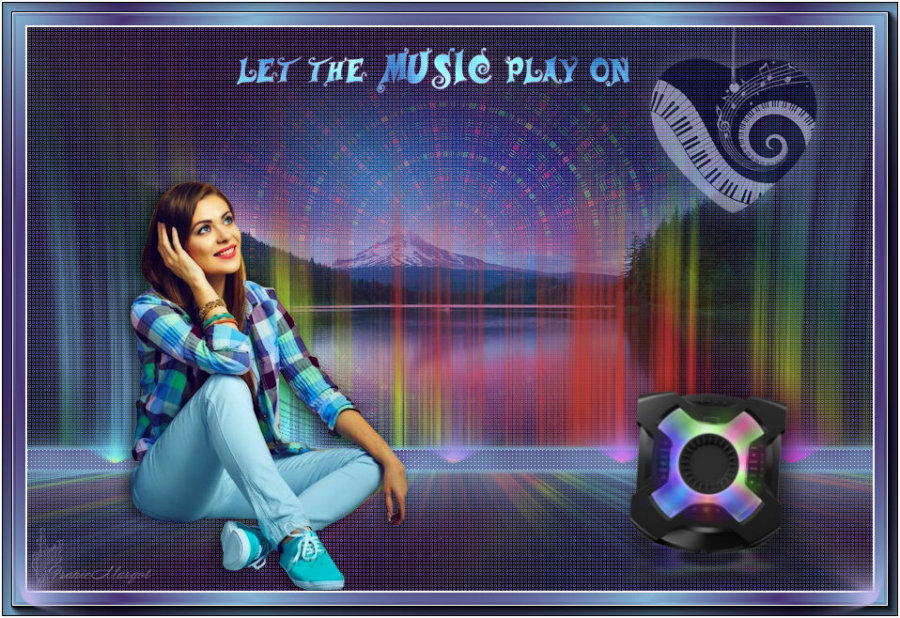
Thank you so much Andrea (Sternchens) for your magnificent versions
~~~~~~~~~~
Thank you so much Vera for your magnificent version
~~~~~~~~~~
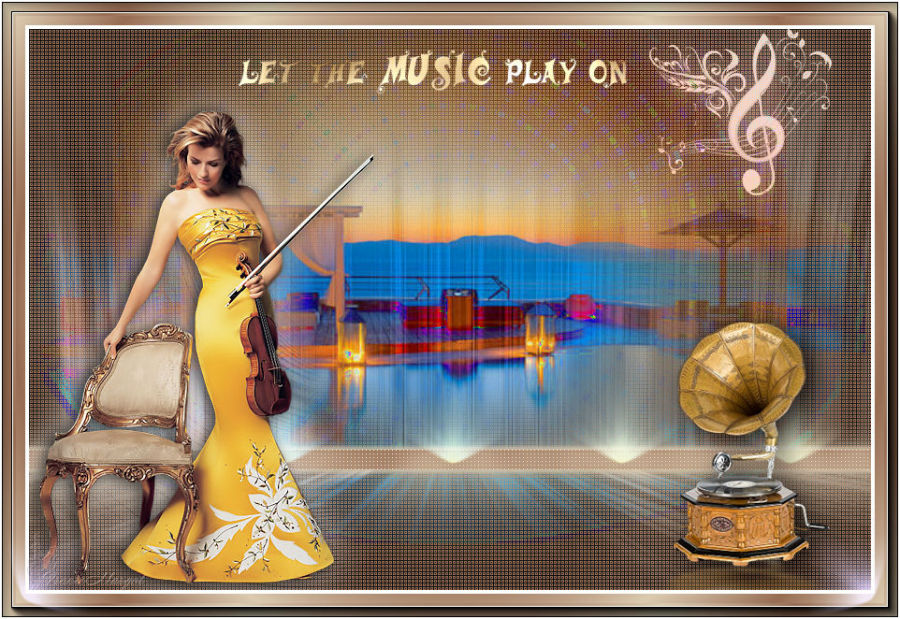
Thank you so much Franie Margot for your magnificent versions
~~~~~~~~~~
Thank you so much Isabella for your magnificent version

~~~~~~~~~~
1 2
![]()